
It’s been awhile since I’ve made a chocolate cake. So when my friend told me she was making Ottolenghi‘s chocolate fudge cake, it seems the correct thing to do to, was to play copycat, and in the dry spell! So that’s what I did. My friend did warn me that the cake does take some time to prepare, but that it was delicious, and got better with time. She was not wrong.
I actually enjoyed the whole process. It did seem the touch laborious but something that would work on a day when I had plenty of free time. My last week of annual leave this was the moment! I was intrigued intrigued by recipe that required the cake to be baked into parts.It took my friend most of the day to create it and she commented that it was soufflé like initially and then more fudged like on day two it all sounded good so I thought I’ll try it.So I stocked up on chocolate 54% and 72% and waited until the beginning of the week when it was bright enough to make the baking experience quite pleasant and soothing which is always what I need.
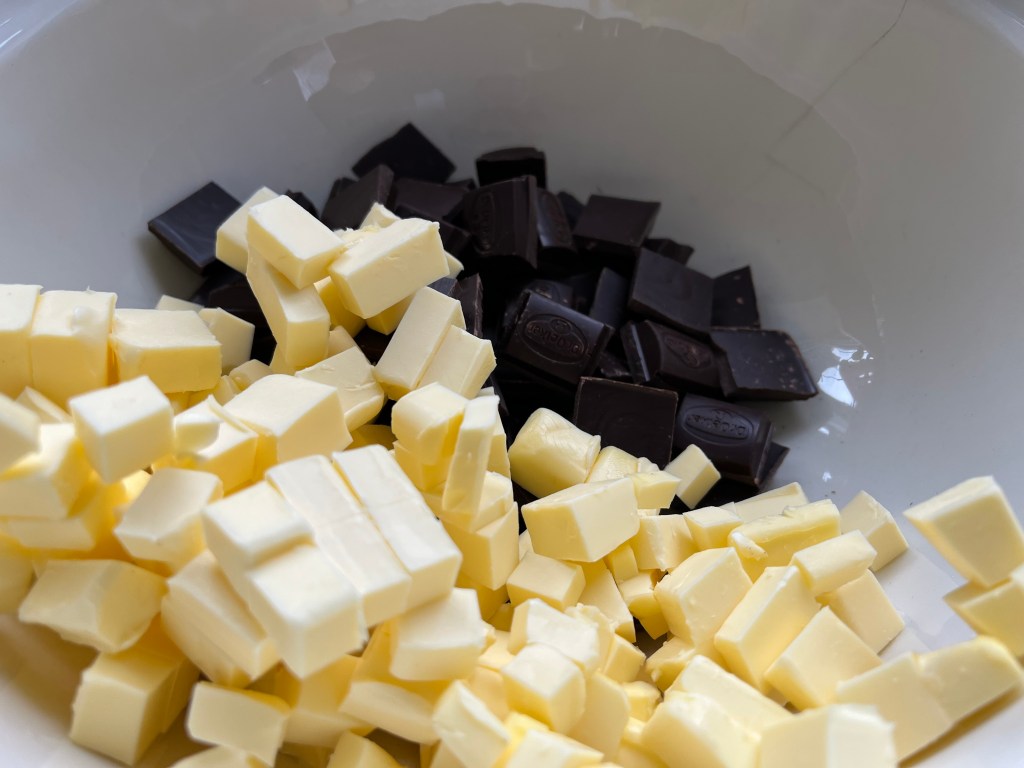
The whole process was calming neatly chopping up the butter and chocolate pieces…
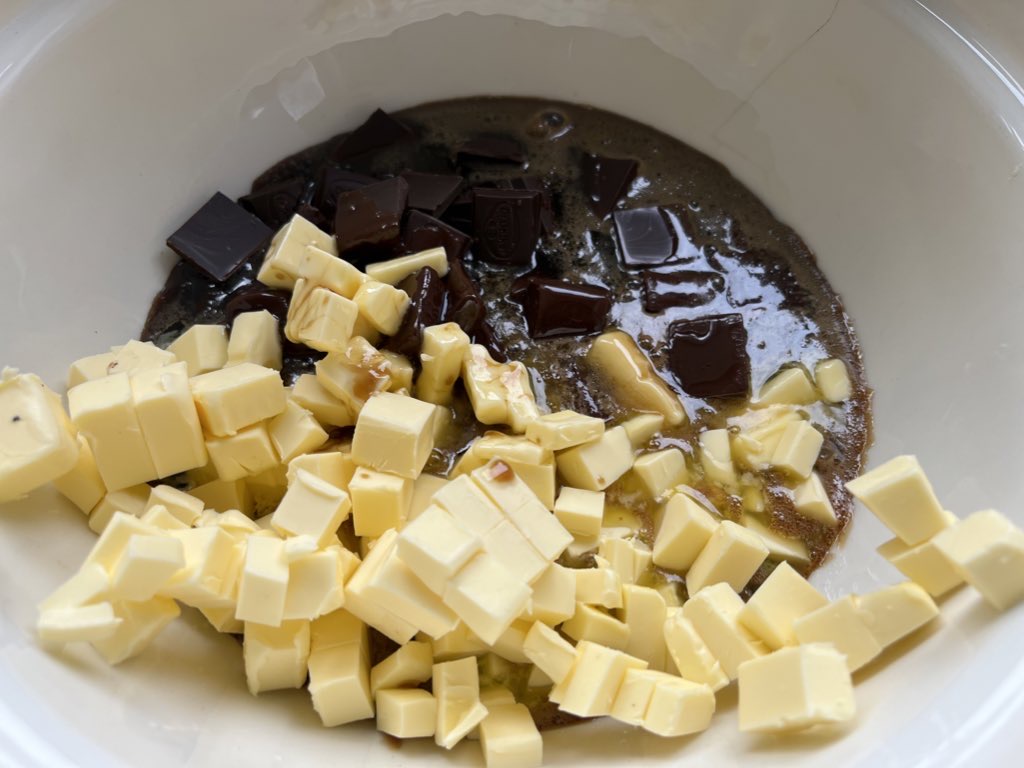
…pouring the dark sticky sugar water mixture over the chocolates and butter pieces.
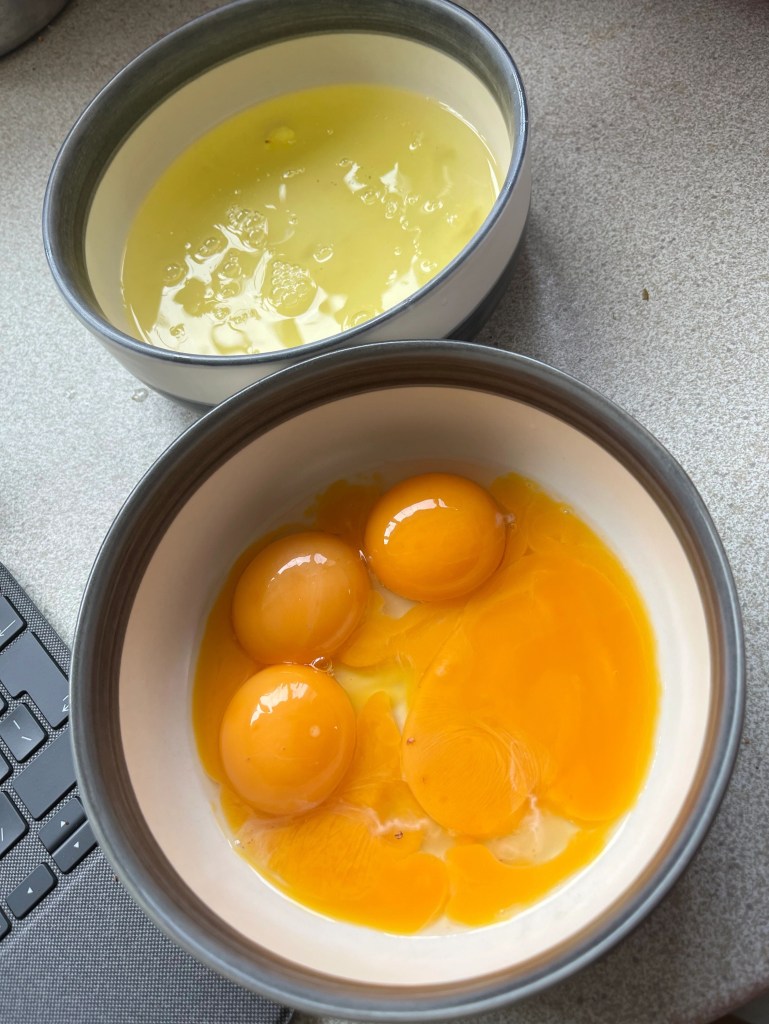
Separating the eggs was hypnotising, passing the yolk from one half shell to another while the whites slipped and slopped out into an eagerly waiting bowl.
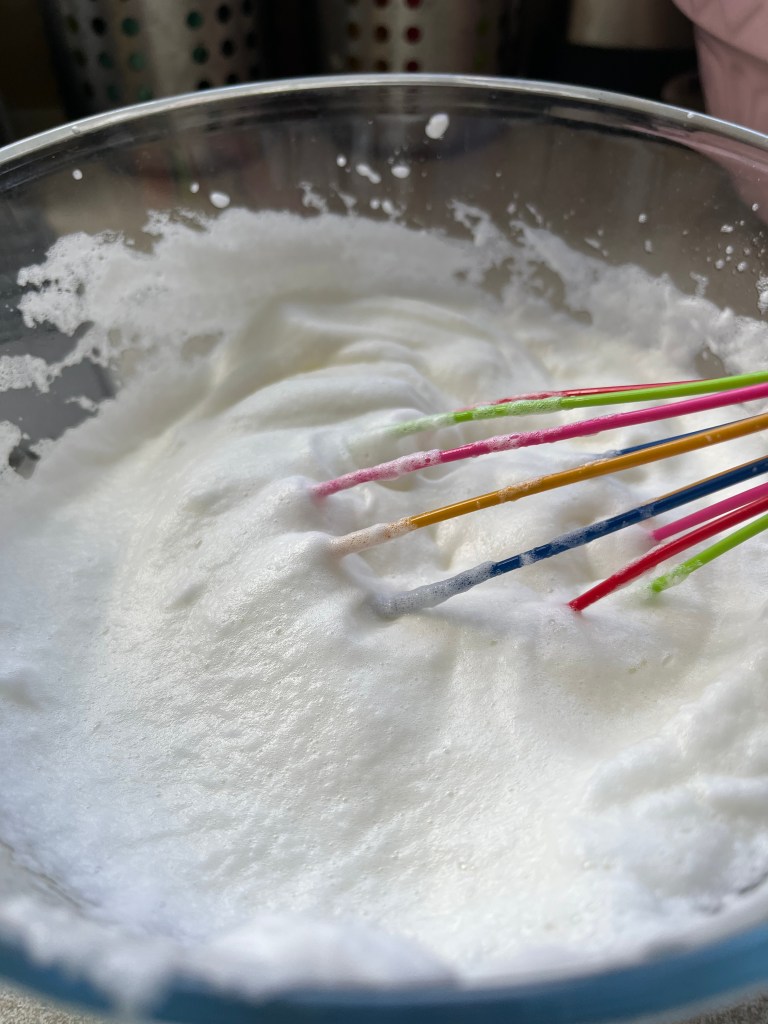
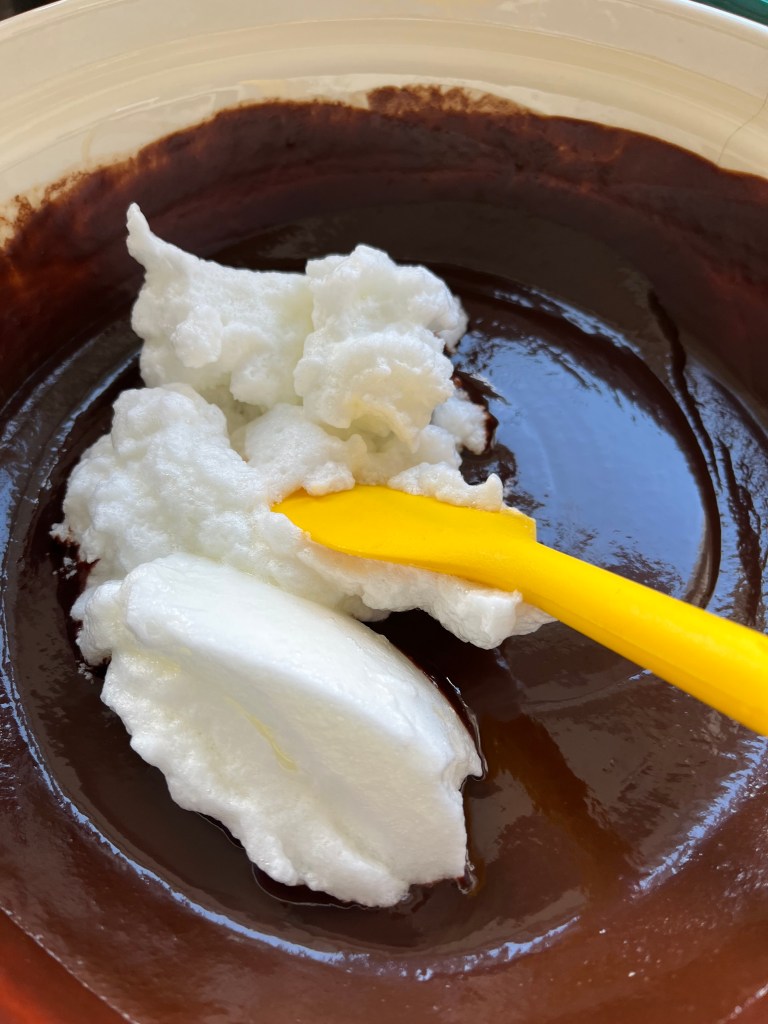
It’s a while since I’ve mixed up egg whites into ‘stiff peaks’. It was a new delight especially since I didn’t think I would have the arm/ wrist strengths do it (my right wrist is also playing up – I feel like I’m falling apart!) but I managed.
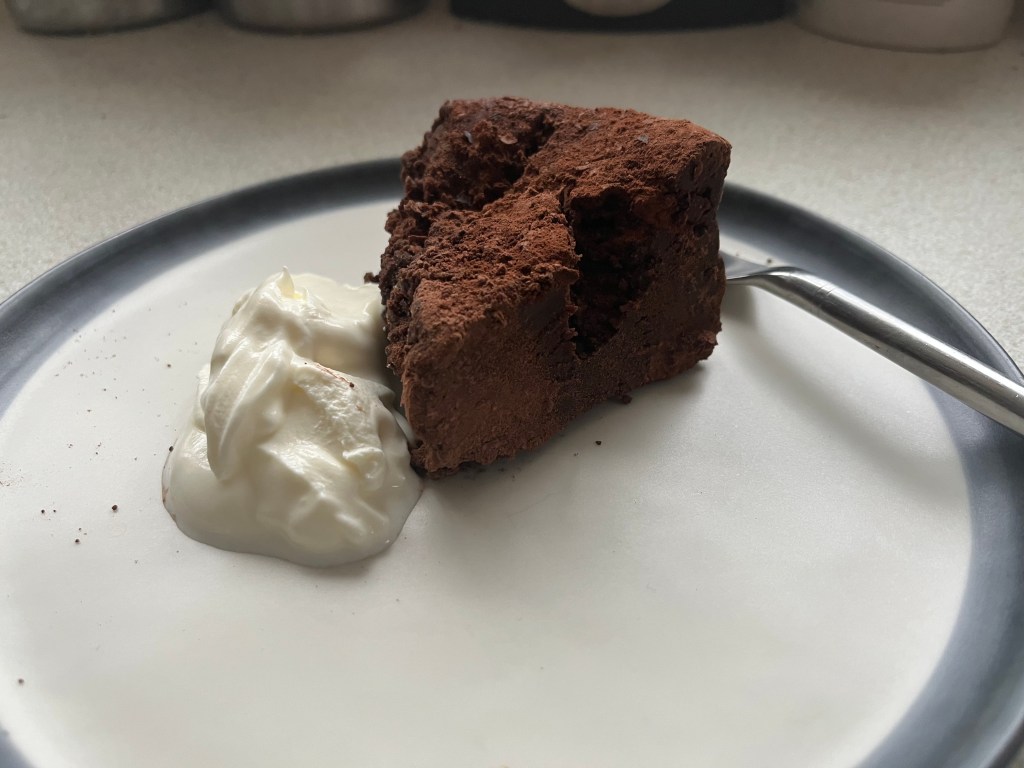
The final product was divine…I kid you not.
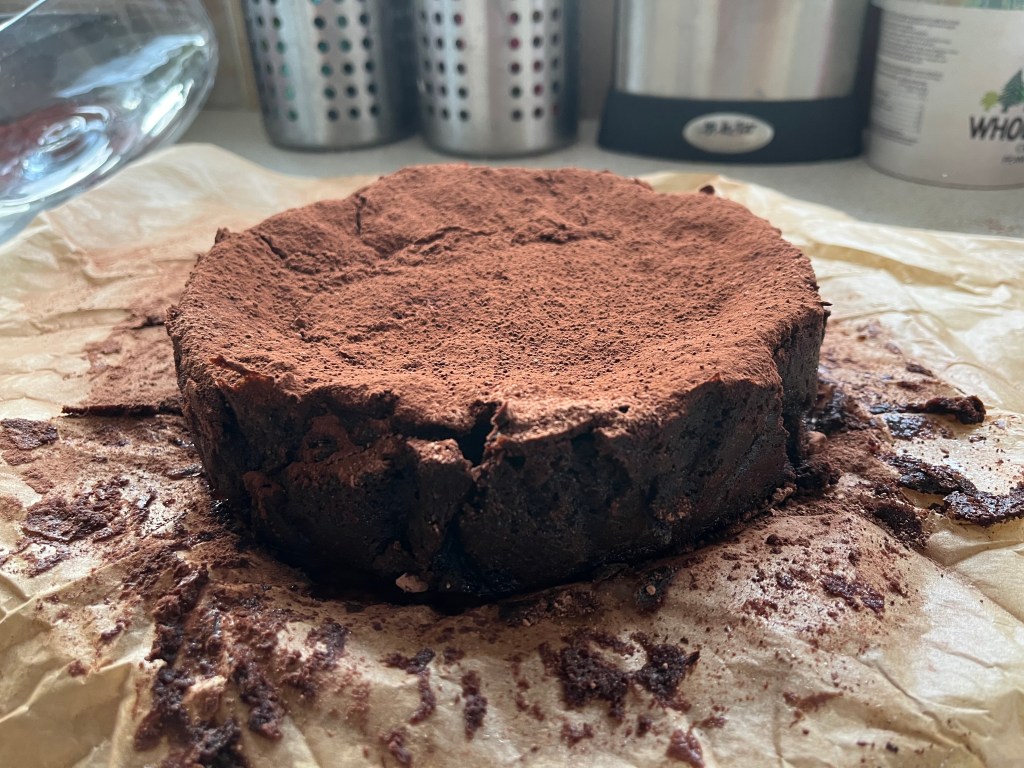
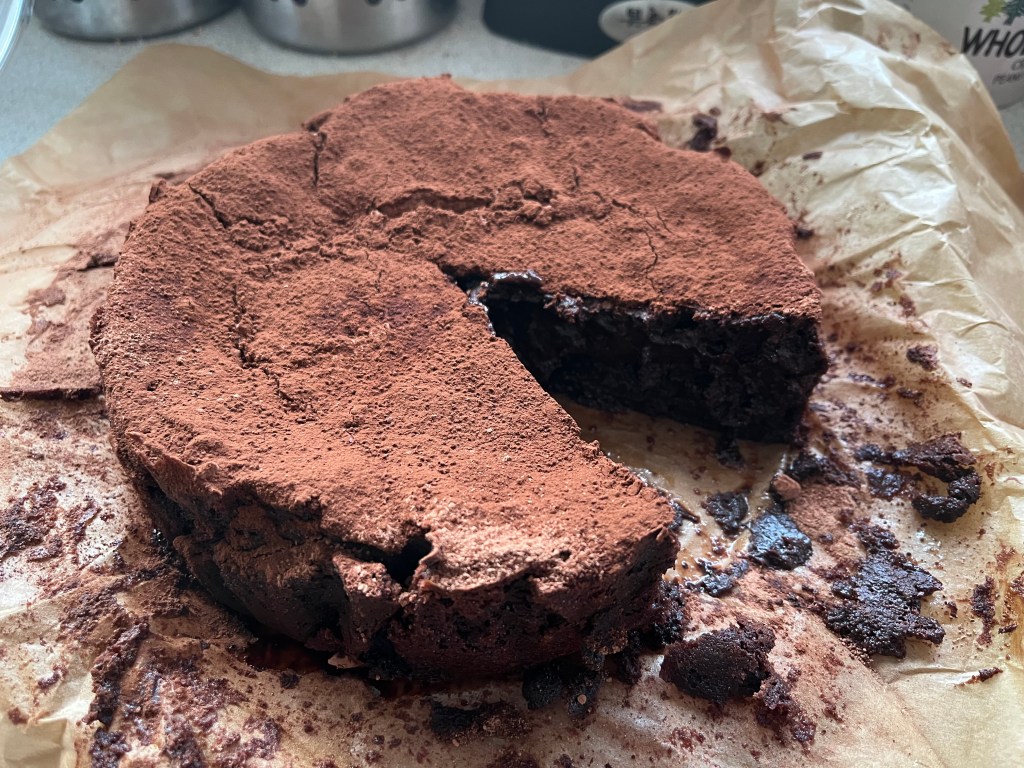

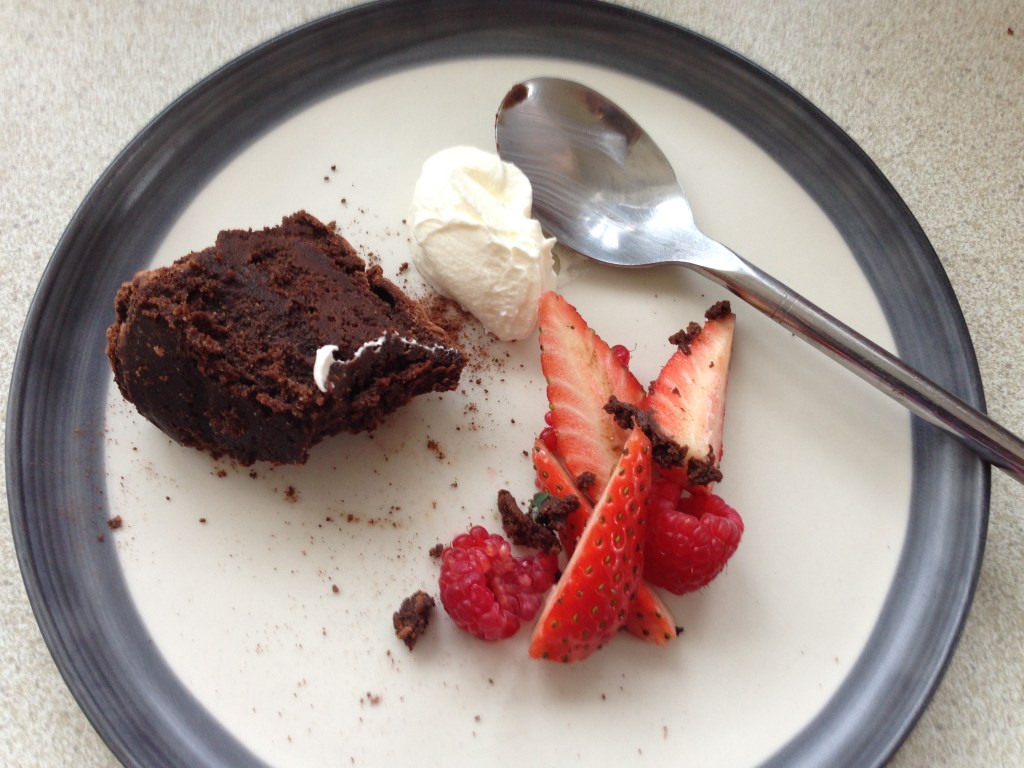
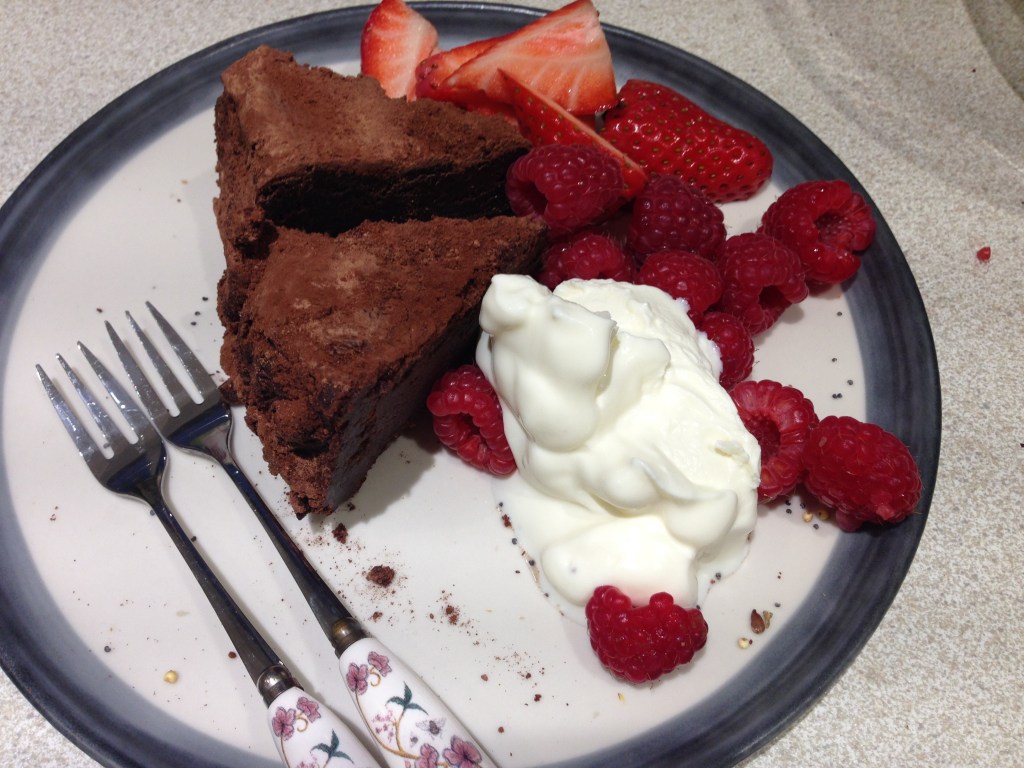
There was the minor incident of #cocoapowdergate – but once that was ‘handled’ the cake was good to go. Where did it go? Well I took it round to my friend hous and we ate it with creme fraiche and strawberries. I had it for breakfast with Ignacio and also a merienda with Ignacio. It was the gift that kept giving.
It was fudge-like, smooth, mousse-like, it was perfectly paired with the cream and the fruit.
Although it took most of the day to make, it was time that I would gladly spend again – one for a lazy and chilled Sunday afternoon.
Ingredients
240g unsalted butter, cut into small cubes
265 g dark chocolate (52 % cocoa solids), cut into small pieces
95 g dark chocolate (70 % cocoa solids), cut into small pieces
290 g light muscovado sugar
4 tbsp water
5 large free-range eggs (separated)
a pinch of salt
cocoa for dusting
Instructions
1.Pre-heat the oven to 170˚C (gas mark 3) Grease a 20 cm springforrm cake tin and line the base with baking parchment.
2.Place the butter and both kinds of chocolate in a large bowl (large enough to accommodate the entire mix). Put the brown sugar and water in a small saucepan, stir to mix, then bring to the boil over a medium heat. Pour the boiling syrup over the butter and chocolate and stir well until they have melted and you are left with a runny chocolate sauce. Stir in the egg yolks, one at a time. Set aside until the mixture comes to room temperature.
3.Put the egg whites and salt in a large bowl and whisk to a firm, but not too dry meringue. Using a rubber spatula or a large metal spoon, gently fold the meringue into the cooled chocolate mixture, a third at a time.
4.Pour 800g (about a third)of the mixture into the prepared cake tin and level gently. Place the cake in the oven and bake for about 40 minutes, until a skewer inserted in the centre comes out almost clean. Remove from the oven and let cool completely.
5.Flatten the top of the cake with a palete knife. Don’t worry about breaking the crust. Pour the rest of the batter on top and level the surface again. Return to the oven and bake for 20-25 minutes. The cake should still have moist crumbs hen checked with a skewer. Leave to cool completely before removing from the tin. Dust with cocoa powder and serve.
The cake will keep, covered, at room temperature for 4 days.
