September really is the month of birthdays. Many of the people that are important to me seem to have been born in this month. One of these people is my best friend. I have known this amazing woman for over ten years and this year I decided that I really ought to bake her cake. We did in fact agree that I would bake her favourite cake. She sent me a recipe for Chinese Cream Fruit Cake, four pages of neat handwritten notes. I’m afraid I flaked and looked how much there was to do and how much time I had and decided it was all a bit too much for me. Instead I was given the alternative option of making a red velvet cake. This type of cake has never been on my radar before and I don’t have any interesting memories of eating it. I don’t really know anything about this type of cake, only my own peculiar suspicions of eating red coloured baked goods. However, like all things if you look hard enough there is a rhyme and a reason. Cocoa contains small amounts of naturally occurring vegetable pigments called anthocyanins. It is anthocyanins that make blueberries blue, and raspberries red. Anthocyanins are red in the presence of an acid; blue or bluish-green in the presence of an alkaline. The red colour of this cake was therefore originally due to reactions of anthocynanin in the cocoa, vinegar and buttermilk. Currently the cocoa that we buy from the supermarket shelves is processed (Dutch processing) so the acidity is reduced and also produces its rich brown colour. According to my ‘sources’ red velvet cake should taste of cocoa, vanilla and buttermilk and have a soft, silky texture and aggressive crimson colour. Well, that was a lot to live up too…
I found this recipe for red velvet cake on the Baking Mad website. and decided to try it out.
INGREDIENTS
For the cake
120g Butter (unsalted)
300g White caster sugar
2 Egg(s) (free range) (large)
50g Cocoa powder
2 tsp Red food colouring (gel, Concentrated professional )
1 tsp Vanilla extract
300g Plain white flour
1 tsp Salt
240ml Buttermilk
1 tbsp White wine vinegar
1 tsp Bicarbonate of sodaFor the cream cheese icing
100g Butter (unsalted)
600g Icing sugar
250g Cream cheese (full fat )
Dark chocolate (for decoration)
METHODS
1.Preheat the oven to 180°C (fan 160°C, gas mark 4). Line 2 x 20cm sandwich tins, with baking parchment.
2.Cream the butter and sugar together in a large mixing bowl with a wooden spoon or in an electric mixer until combined. Add the eggs one at a time whilst still mixing, until both the eggs are incorporated and the mixture is lighter and smooth.
3.Sieve the cocoa powder into the mixture and add the vanilla extract.
4.Sift the flour into a large bowl and add the salt. Slowly add half the flour to the chocolate mixture, then half of the buttermilk. Mix well then add the other half of the flour and the last of the buttermilk, continuing to mix.
5.Add two teaspoons of red food colouring gel to the mixture, making sure it is mixed in well.
6.In a small mug combine the white wine vinegar and the bicarbonate of soda, then add to the mixture, stirring until combined. This will foam so make sure your container is big enough.
7.Split the mixture between the two lined sandwich tins and place in the oven for approximately 30 minutes. Your cake is ready as soon as a toothpick or knife inserted into the middle of the cake comes out clean. Leave to cool.
8.For the icing, place the butter, cream cheese and icing sugar in a food mixer and beat until smooth (or do by hand, beating quickly until thick and smooth). Cover one layer of the cake with icing, then sandwich the two pieces of cake together. Cover the top and sides of the cake with icing then grate dark chocolate over the top for the final touch.
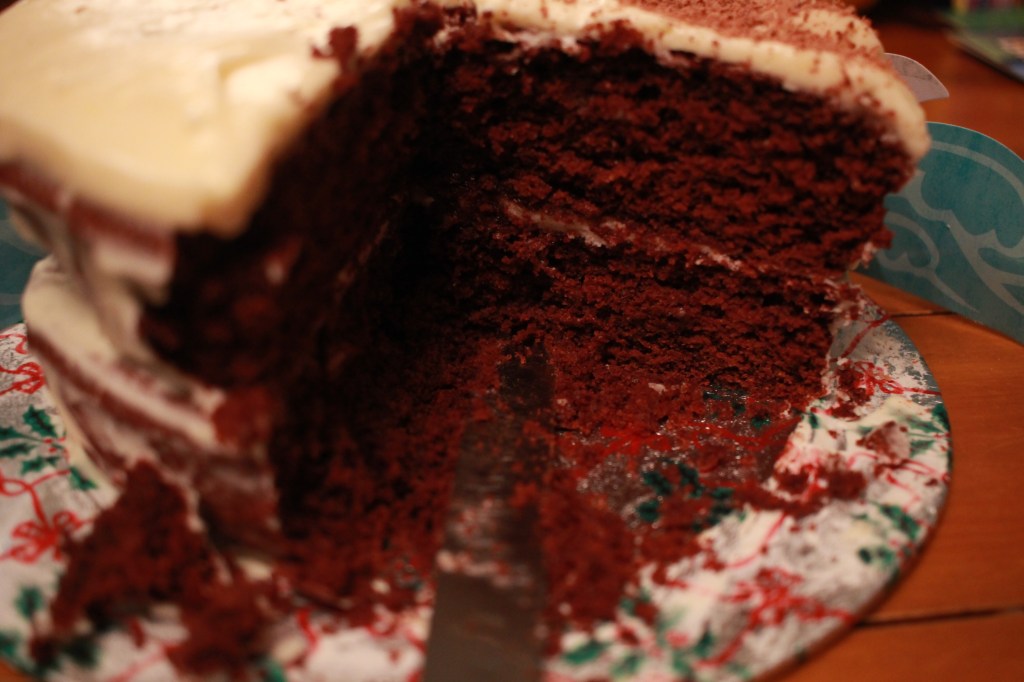
I don’t think it turned out badly…
Maybe not much in the way of aggressive crimson but certainly soft.

I did get the thumbs up from my friend, but I know I still have to make that Chinese Cream Fruit Cake, one of these days.
